Calcium buildup on pool tiles is a common issue faced by pool owners. This unsightly accumulation can detract from the aesthetic appeal of your pool and may even lead to more serious problems if left untreated. In this guide, we will walk you through the steps to effectively remove calcium deposits from your pool tiles, ensuring that your swimming area remains clean and inviting.
Understanding Calcium Buildup
Before diving into the removal process, it’s important to understand what causes calcium buildup. Calcium deposits, often referred to as scale, typically form due to:
- High calcium hardness levels in the water.
- Evaporation of water, which leaves minerals behind.
- Improper pH balance.
- High temperatures, which can accelerate mineral precipitation.
According to the Pool & Spa Association, around 70% of pool owners report experiencing calcium buildup at some point, making it a widespread concern. Addressing this issue promptly can save you time and money in the long run.
Tools and Materials Needed
Before starting the calcium removal process, gather the following tools and materials:
- White vinegar or muriatic acid (for tough stains)
- A stiff brush or a pumice stone
- Protective gloves and goggles
- Bucket for mixing solutions
- Spray bottle
- Water hose
- Tile cleaning solution (optional)
Step 1: Prepare Your Pool

Before commencing any cleaning tasks, it’s crucial to prepare your pool:
- Remove all pool accessories such as floats, toys, and skimmers.
- Turn off the pool pump to prevent any circulating water from interfering with the cleaning process.
- Lower the water level if necessary to expose the tiles that need cleaning, but make sure to keep it above the skimmer.
Step 2: Test the Water Chemistry
Before applying any cleaning solutions, test the water chemistry. High calcium hardness levels (above 400 ppm) can exacerbate scaling. You can use a simple test kit to check the following:
- pH Level: Should be between 7.2 and 7.8.
- Calcium Hardness: Ideally between 200 and 400 ppm.
- Alkalinity: Should be between 80 and 120 ppm.
If the water chemistry is off, balance it before proceeding to avoid further scaling.
Step 3: Choose Your Cleaning Solution

Depending on the severity of the calcium buildup, you may choose between natural and chemical solutions:
- Natural Solution: White vinegar is an effective and eco-friendly option for light calcium deposits. It contains acetic acid, which can dissolve calcium carbonate.
- Chemical Solution: Muriatic acid can be used for tougher stains. However, it is more potent and should be handled with care. Always dilute it according to the manufacturer’s instructions.
Step 4: Apply the Cleaning Solution
Once you’ve selected your cleaning solution, it’s time to apply it:
- For vinegar, fill a spray bottle and saturate the affected areas of the tiles.
- For muriatic acid, dilute it in a bucket according to the instructions and use a sponge or brush to apply it directly to the tiles.
Let the solution sit for 10-15 minutes to allow it to break down the calcium deposits.
Step 5: Scrub the Tiles
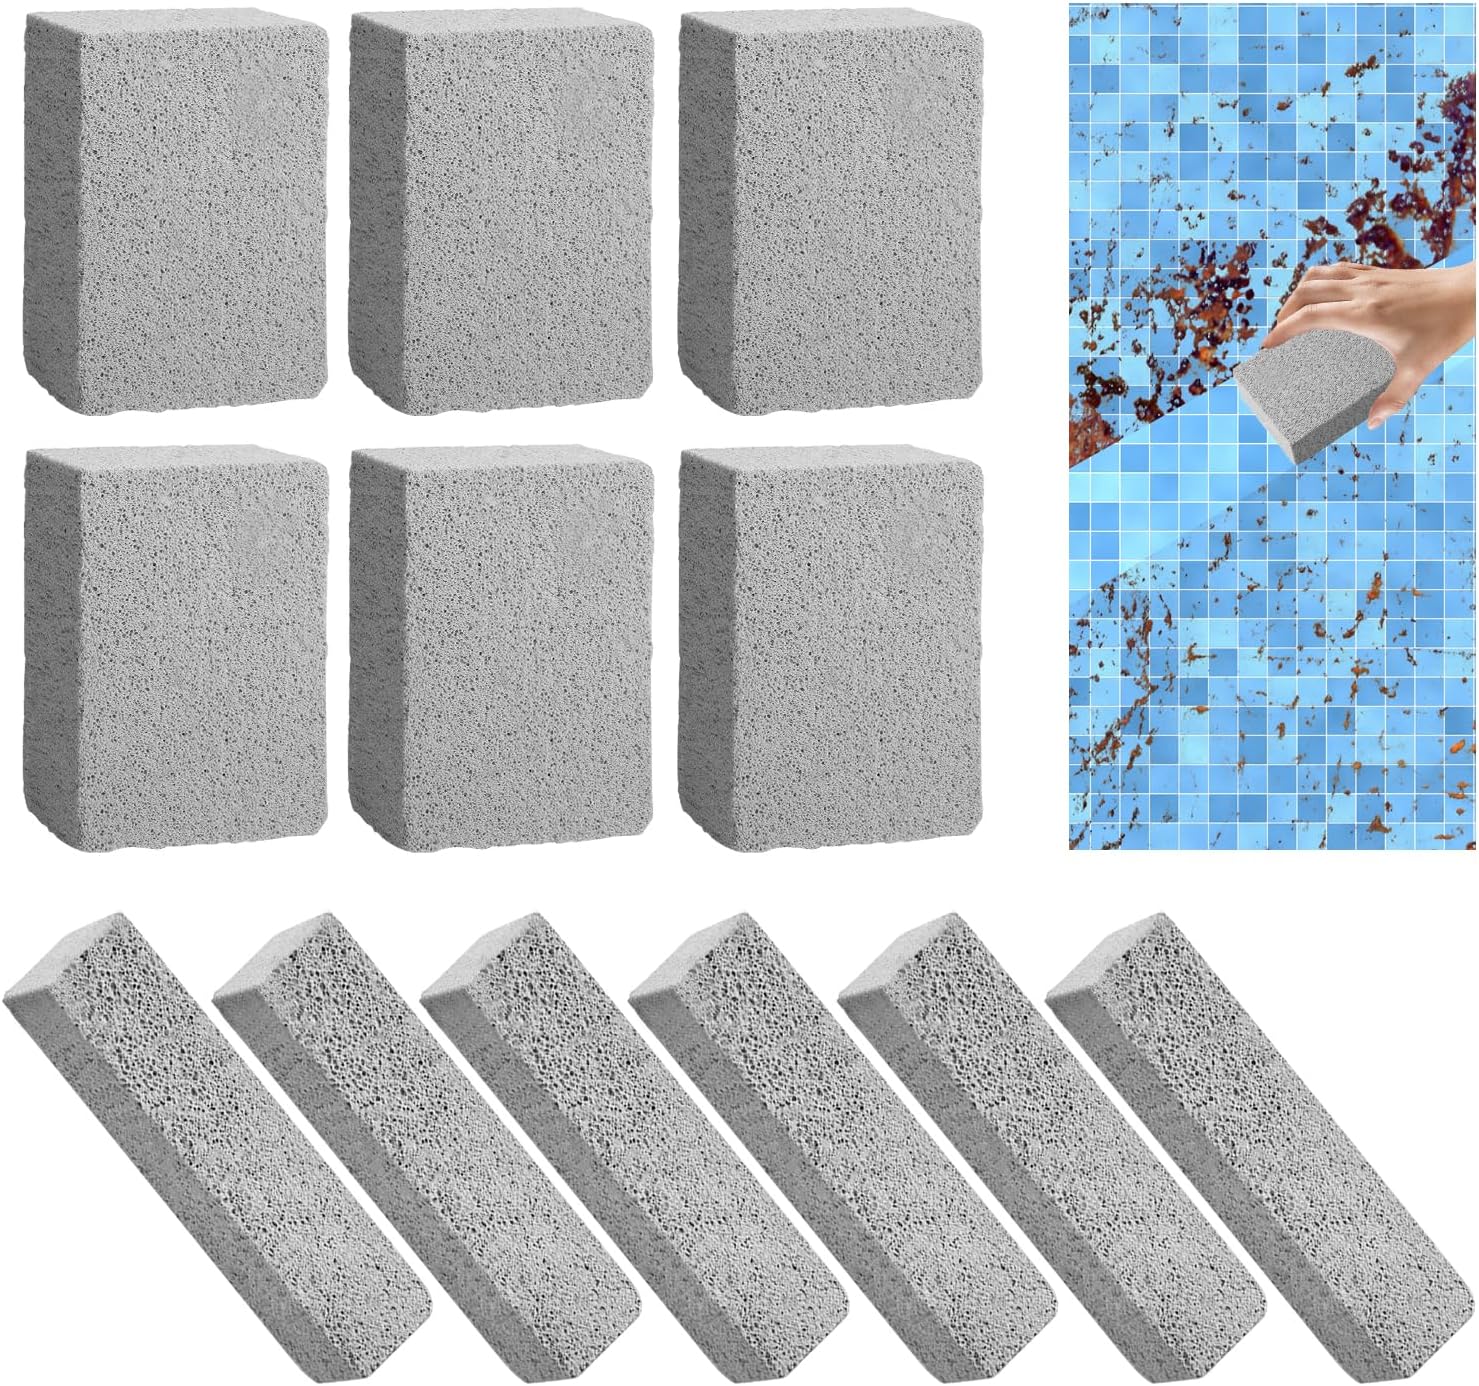
After allowing the cleaning solution to work, it’s time to scrub the tiles:
- Use a stiff brush or pumice stone to scrub the affected areas gently. Be careful not to scratch the tiles.
- For tough spots, reapply the cleaning solution and scrub again.
Some pool owners report that using a power washer can help speed up the cleaning process, but this should be done with caution to avoid damaging the tiles.
Step 6: Rinse Thoroughly

After scrubbing, it’s essential to rinse the tiles thoroughly:
- Use a water hose to rinse off any remaining cleaning solution.
- Make sure that no solution is left standing on the tiles, as it can lead to further scaling.
Step 7: Rebalance Your Pool Water

After cleaning, it’s crucial to rebalance your pool water. This includes:
- Testing the water again to ensure proper pH and calcium levels.
- Adding any necessary chemicals to maintain balance and prevent future scaling.
Preventing Future Calcium Buildup

Once you’ve successfully removed calcium deposits, take steps to prevent their return:
- Regularly test and balance your pool water chemistry.
- Consider using a water softener if your source water has high calcium levels.
- Keep your pool covered when not in use to minimize evaporation.
- Regularly clean your pool and tiles to prevent buildup from becoming problematic.
Calcium buildup on pool tiles is a common problem that can detract from the beauty and functionality of your pool. By following this step-by-step guide, you can effectively remove calcium deposits and maintain a clean and inviting swimming environment. Remember to regularly monitor your water chemistry and implement preventive measures to avoid future issues. With diligence and care, you can enjoy a sparkling clean pool all season long.
In summary, the key takeaways include understanding calcium buildup, preparing your pool, testing the water chemistry, selecting the right cleaning solution, scrubbing effectively, rinsing thoroughly, and maintaining proper water balance to prevent future scaling. With these steps, you’re well on your way to a beautifully maintained pool.


